Gimp - Protect your images with a Logo or Text
- Toni Nielsen

- Jan 20, 2019
- 1 min read
Updated: Jan 21, 2019
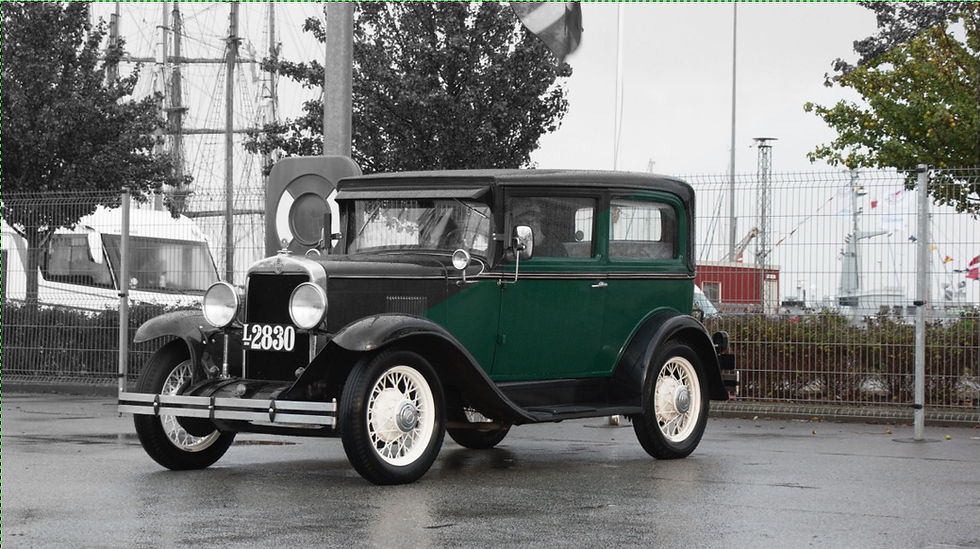
Avoid your photos being used by a 3 'party and they take credit for your work.
Copyright your images with a logo or text.

Start by opening Gimp.

Draw a logo or type a Name.
I have chosen a camera as a logo.
1. Select (Paint brush tool)
2. By and double click on it for you now the option and choose thickness mm.

3. Select your colors by and Left click (Foreground and Background colors) Select the color and press OK.

4. Once you have signed your logo or written a name / logo. Selecting (Select tool) Select and press and hold the right mouse button. Release the button when you hit your logo. Right click now and select Image -> Crop to Selection

5. Now we come to one of the most important points, we will now choose that our white background should be transparent. Select Colors -> Colors for Alpha ... Press OK.

6. We are now ready to copy the logo into our Picture. Select the logo and right click. Select Edit -> Copy.
7. Right click on your image and select Edit -> Insert.
8. Now choose (Move Tool) and now move around the logo until it is in its proper place.
9. Right click on the image and select Layer -> Anchor Layer.
And that is, your picture is now ready for Export.


Comments